Email marketing is one of the most effective ways to get in touch with your customers and build a successful business.
It is also one of the most cost-effective marketing mediums. Besides, you can use features like automation and segmentation to ensure that you do more work in less time and the right message reaches to the right person.
Estimates show that 93 percent of B2B marketers use email as a marketing medium, whereas 40 percent of them find email newsletters crucial to their content marketing success.
Similarly, a study found that for every $1 spent, email marketing generates $42 in ROI. By contrast, businesses make an average of $2 in ROI for every $1 they spend on Google Ads.
So, no matter you are running a bricks-and-mortar business or an online shop, email is an excellent marketing medium.
One of the oldest and most popular email marketing tools is Mailchimp. It offers integrations with more than 250 apps and web services.
Mailchimp is easy-to-use and offers excellent email service for all types of businesses, especially for beginners, as it allows you to send 10,000 emails per month to up to 2,000 contacts free of cost.
However, you need to upgrade to Mailchimp’s paid plans if your subscribers’ number exceeds the limit of the free plan or if you want more advanced features like automation, A/B testing, reporting, etc.
Email marketing tools work particularly well with content management tools like WordPress and help grow your website traffic.
So, in this guide, we are going to walk you through the process of adding Mailchimp to WordPress, which is the most widely used content management system.
How to Connect Mailchimp to WordPress
You can collect your website visitors’ basic information like their names and email addresses using a signup form. If your site is integrated with Mailchimp, then whoever fills the signup form will be automatically added to your email list, which means you can easily send your future campaigns to them.
There are two major ways to add a Mailchimp signup form on your WordPress site.
You can either directly embed the form’s code into your WordPress sidebar using a widget, or install and activate a list building plugin from the WordPress repository.
1. Using Code to Embed Signup Form
In this section, we will use Mailchimp’s embedded code generator to generate the newsletter signup form code.
First, you need to create a signup form from your Mailchimp’s account. Here is what you need to do:
- Visit your Mailchimp dashboard, click on the Create tab and select Signup Form.
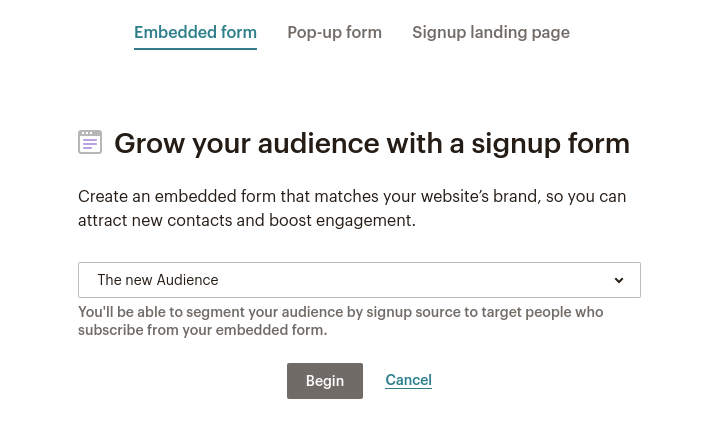
- Select Embedded forms.
- Here, you can choose any of the five form types – Classic, Condensed, Horizontal, Unstyled and Advanced.

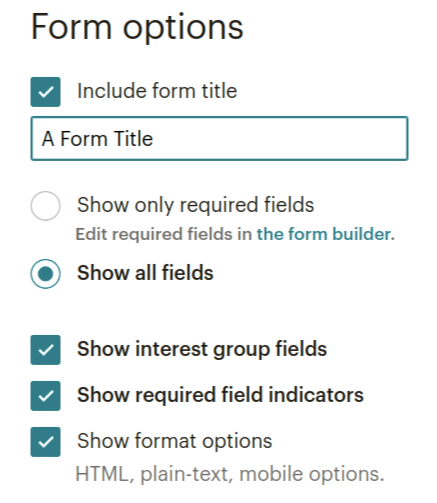
- On the left side of the page, you can give your form a title (you can also uncheck this option if you don’t want a title) and choose to show all fields or only the required fields. You can also exclude interest group fields and required field indicators by unchecking their boxes.
- Once you have finalized the changes, copy all the HTML code in the box with a heading “Copy/paste onto your site.” That box has the HTML code that you will copy and paste within your post or page.
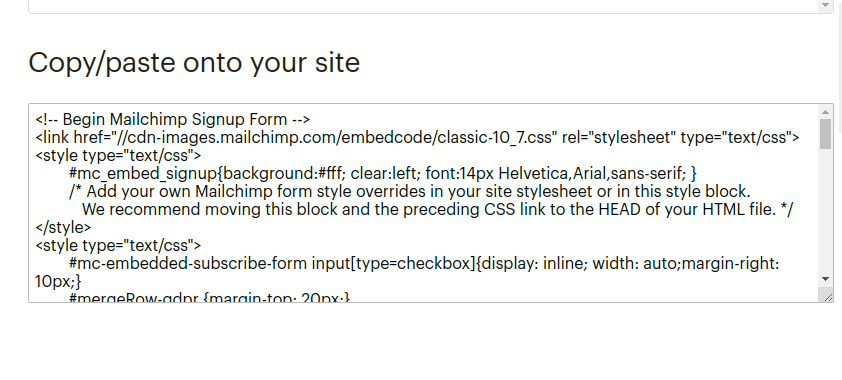
Here is how you can copy-paste the code in a widget in WordPress:
- Go to the WordPress dashboard and click on Appearance > Widgets.
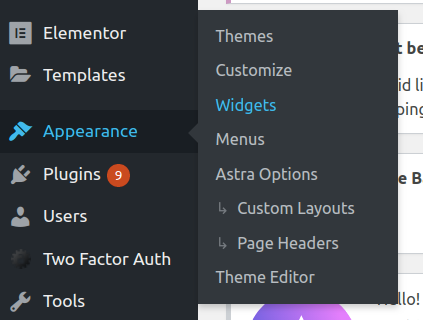
- From the Available Widgets section, drag and drop the Custom HTML widget to your sidebar or footer.

- Give your widget a title (optional).
- Paste the code and click Save.
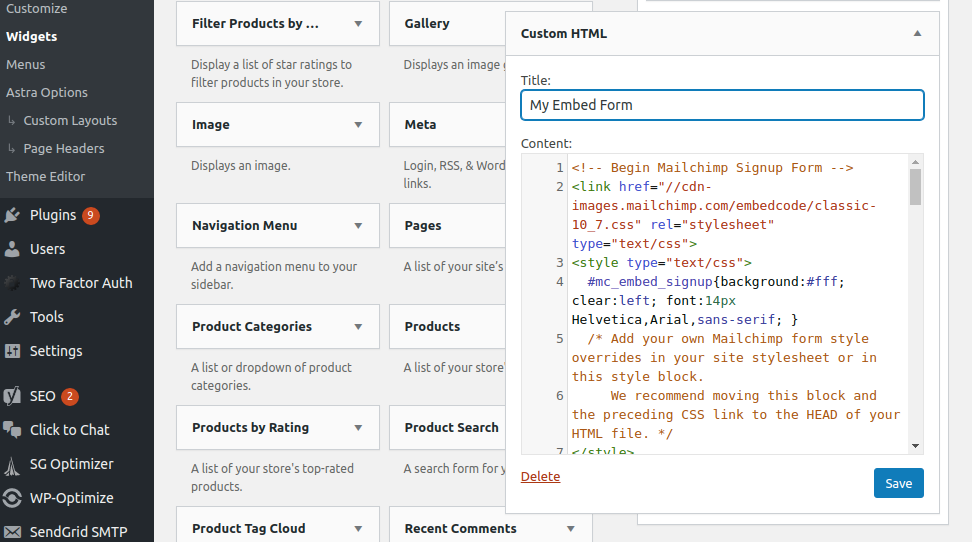
The best thing about using this method is that it works on any HTML website, and not just WordPress.
2. Use Plugin to Add Mailchimp Form to WordPress Site
You can also use a list-building plugin to add a signup form to your site.
To install and activate a plugin:
- Go to the WordPress dashboard.
- Click Plugins from the sidebar and then hit Add New.

- As you type Mailchimp in the search bar, you will see a list of several plugins.
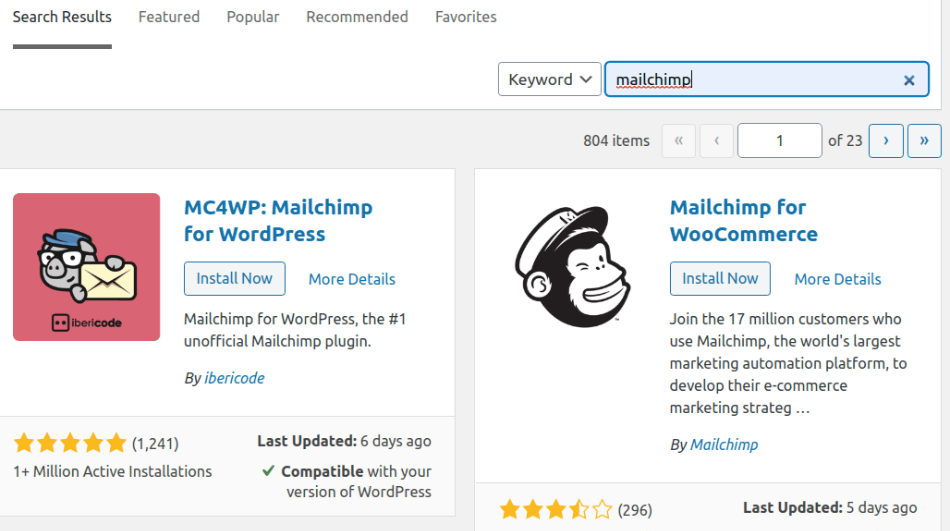
- Choose the plugin that you find best. Click Install Now and then click Activate.
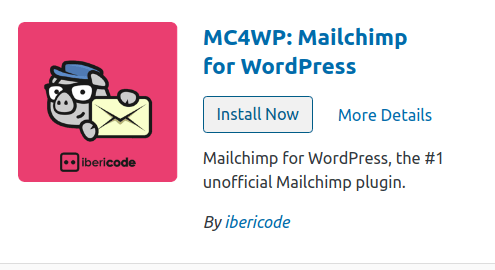
There are numerous list building plugins in the WordPress repository. However, the most popular of them is MC4WP: Mailchimp for WordPress (by ibericode), which offers both free and paid versions. It is a top-rated plugin and currently more than one million websites are taking advantage of it. Using this plugin, you can easily create a well-designed, customizable signup form and embed it anywhere on your site.
Now it’s time to connect Mailchimp to the plugin. To do this, follow the below steps:
- Go to your Mailchimp account.
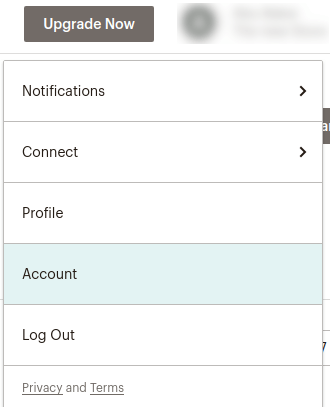
- Click on your profile name and then select Account.
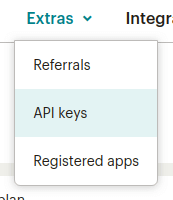
- On the Account page, click the Extras menu and select API keys.
- On the API keys page, click the Create A Key button to generate a key.

- Copy the API key.

- Now go back to your WordPress plugin (MC4WP in this case) and click Settings.
- Find the API Key box and paste the Mailchimp API key.
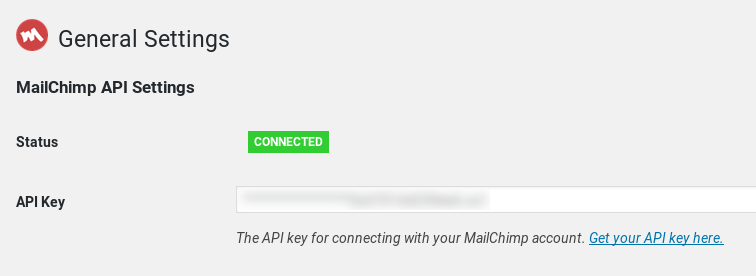
Note: API keys provide full access to your Mailchimp account, so don’t share them with anyone and keep them safe.
Finally, Mailchimp is connected with your plugin.
Final Thoughts
Now you can take your email marketing to the next level by using Mailchimp and WordPress together. You can now easily create a Mailchimp opt-in form in WordPress that can expand your email list and grow your business.
Email marketing holds tremendous potential for your business. Just consider this: the number of email users across the globe stands near 4 billion – that’s almost half of the world’s population!
Email is customizable, personal, permission-based and measurable, which makes it such a powerful medium to market your business.
So, go ahead and add email marketing to your business marketing strategy from today.


